Breathe New Life into Reclaimed and Upcycled Treasures

Today we’re exploring caring for reclaimed and upcycled furniture—restoration techniques and long-term care that keep character intact while improving safety and durability. Expect practical steps, heartfelt workshop anecdotes, material guidance, and a sustainable mindset so rescued pieces serve daily life gracefully, resisting wear, sunlight, and household mishaps for years. Share your questions, subscribe for deep dives, and tell us about the piece you most want to revive so we can tailor upcoming advice and celebrate every small victory together.

Assessing Character, Damage, and Potential

Before any tool touches the surface, learn to read what the piece is telling you. Grain patterns, odors, fasteners, and previous repairs reveal species, age, and stresses. Careful assessment prevents over-restoration, preserves patina, and sets realistic goals, balancing authenticity with function. We’ll examine moisture, pests, and stability, and decide which quirks are charming history and which are safety concerns. The best restorations begin with empathy, patience, strong light, and notes that guide every decision without erasing the furniture’s hard-earned story.

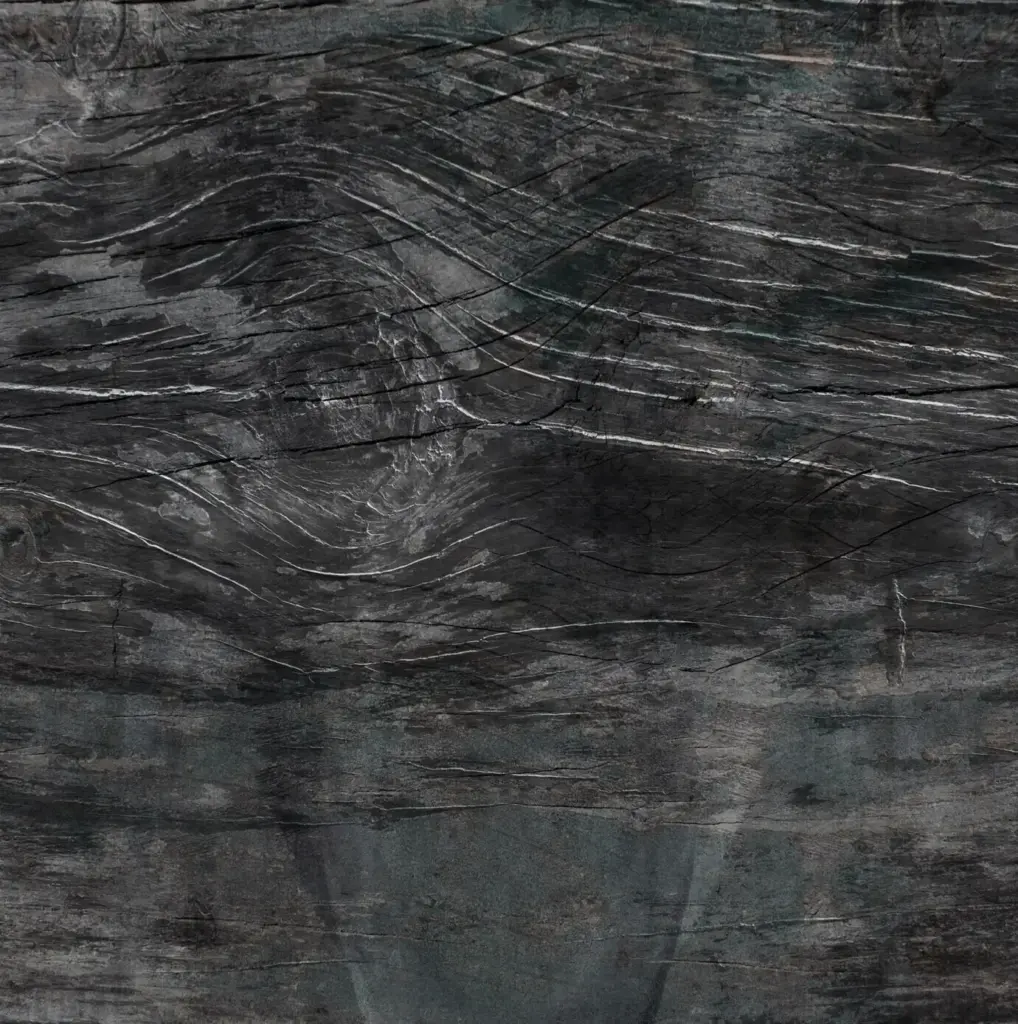
Reading the Wood’s Story

Look for end-grain clues, ray fleck in oak, tight growth rings in old pine, and the scent that hints at cedar or teak. Examine screw slots for age, tool marks for handwork, and witness lines showing past finishes. Note water stains, sun-faded zones, and uneven wear that guide any repairs. Photograph details, measure movement, and sketch joinery so every next step respects the narrative rather than rewriting it.

Spotting Structural Weakness

Gently rack the frame, test chairs diagonally, and check for gaps at mortise-and-tenon shoulders. Listen for creaks signaling loosened glue. Probe soft areas with a pick, and confirm moisture content near 8–12 percent for indoor use. Inspect for powdery frass from wood-boring insects and rusted fasteners expanding in old holes. Decide what must be rebuilt for safety versus what can be stabilized, always prioritizing reliable load-bearing integrity.

Identifying Old Finishes and Contaminants

Perform small, discreet solvent tests: alcohol softens shellac, lacquer thinner responds to lacquer, while modern polys resist both. Check for wax, silicone, or furniture polish residues that sabotage adhesion. Look for oil contamination from kitchens, nicotine film from decades of smoke, and embedded soot. Map these findings, because cleaning strategies, strip methods, and final finish compatibility all depend on this detective work accomplished before any ambitious transformation begins.

Dry Cleaning Before Liquids

Use a soft brush, vacuum with a HEPA filter, and microfiber cloths to lift dust without grinding grit into the grain. A rubber crepe block removes grime from open pores. Only after dry debris is cleared should you introduce mild soaps or mineral spirits. This sequence reduces streaks, prevents mud-like slurry, and protects delicate veneers or unstable finish layers. The simpler the start, the safer the outcome for fragile, storied surfaces.

Solvent Strategy with Safety

Match the solvent to the target and keep the workspace well-ventilated. Mask off inlays and delicate marquetry, and always use test squares on inconspicuous areas. Collect rags in a fire-safe container to prevent spontaneous combustion. Neutralize stripper residues per manufacturer guidance, then allow full off-gassing before refinishing. Your lungs, skin, and the piece itself will thank you for this careful, methodical approach that respects both craft and health over hurried shortcuts.

Respecting Patina While Cleaning

Patina is a record of time, and overzealous stripping can silence that story. Focus on removing contaminants, not character. A gentle touch reveals warmth in old woods that new lumber rarely displays. Blend cleaned areas into adjacent surfaces to avoid stark transitions. If a stubborn stain remains but doesn’t compromise structure, consider living with it as a badge of survival. Imperfections, thoughtfully framed, often become the most admired details in a room.

Repairs That Last: Joinery, Fills, and Reinforcements

Durable repairs honor original construction. Whenever possible, reactivate hide glue for reversible joints, or choose modern adhesives thoughtfully where strength and stability outweigh future disassembly needs. Reinforce high-stress zones discreetly, and match repair woods to density and grain for seamless blending. Fill losses with tinted epoxy only when necessary, preferring wood patches where craftsmanship can shine. Document changes for future caretakers so the next generation understands what was stabilized, replaced, or intentionally left as a graceful reminder.

Reviving Loose Joints

Disassemble carefully using heat and moisture to soften hide glue, protecting surrounding fibers. Clean mating surfaces without enlarging tenons or mortises, then re-glue with appropriate adhesive and proper clamping cauls. Check for square and twist before the glue sets. For chairs, add discreet corner blocks where appropriate, echoing historical solutions. A well-executed joint repair restores confidence and silences wobbles that threaten both safety and the subtle pleasure of sitting without a whisper of complaint.

Ethical Infill and Patching

When loss demands replacement, choose patches with matching grain, orientation, and species. Undercut damaged edges for solid registration, and feather transitions so the eye flows uninterrupted. Use toned shellac, wax sticks, or colored epoxy only where wood replacement is impractical. Keep repairs honest but harmonious, avoiding deceptive antiques fakery. The goal is integrity and longevity, not museum-perfect disguise. Let discerning viewers appreciate your care while everyday users simply enjoy reliable, beautiful functionality.

Hardware Decisions: Reuse, Restore, or Replace

Catalog every hinge, pull, and screw. Clean brass with restraint, leaving traces of age that complement the wood. Straighten bent screws when safe, or replace with period-appropriate slotted heads rather than conspicuous modern styles. Consider felt-backed washers to quiet handles and protect finish. Where security or accessibility improves daily use, choose unobtrusive upgrades. Hardware is the handshake of a piece; treat it with courtesy, ensuring comfort, reliability, and a touch of inherited dignity.

Choosing the Right Finish for the Job

Match performance to use: a dining table needs tougher protection than a display cabinet. Test sheen on sample boards under actual room lighting. For easy future maintenance, consider shellac or hardwax oils. For high-moisture zones, waterborne polyurethane may be wiser. Remember compatibility with any remnants of earlier coatings. When in doubt, start with reversible systems, preserving options for future caretakers who will appreciate thoughtfully conservative, practical decisions.

Color and Tone Harmony

Blend new patches or replacement boards by toning with dyes or shellac tints before topcoat. Work in layers to creep toward harmony rather than rushing into heavy pigment. Evaluate in morning and evening light because color shifts. Keep reference photos to avoid overshooting warmth or darkness. The goal is coherence across surfaces while retaining quiet, honest variation that makes reclaimed furniture feel alive rather than artificially uniform or suspiciously factory-fresh.

Application Discipline and Curing Patience

Filter finishes, use high-quality brushes or lint-free pads, and maintain a clean, still workspace. Apply thin, even coats, respecting recoat windows to avoid witness lines and adhesion failures. Allow full cure before heavy use, even if it looks dry on top. Track dates in a notebook, resist impatience, and let chemistry complete its work. This patience is the difference between “good enough” and heirloom-caliber results that invite hands without fear.

Long-Term Care: Daily Habits and Seasonal Checks

After restoration, gentle routines preserve the win. Manage sunlight, humidity, and handling habits, and schedule periodic inspections. Use breathable, plant-safe polishes sparingly, avoid silicone, and lift rather than drag. Rotate table centerpieces to prevent ghost shadows and coasters to defeat rings. Seasonal checkups catch hairline cracks early, while felt sliders prevent floors and chair rungs from fighting. Maintenance is love in action, keeping rescued pieces ready for family gatherings, quiet mornings, and spontaneous celebrations.

Sustainability, Provenance, and Storytelling

Quantifying the Footprint You Avoided

Approximate the embodied energy of new furniture you skipped, and consider transport miles dodged by local salvage. Favor low-VOC products and responsibly sourced supplemental wood. Even small choices—reusing screws, reconditioning hardware—add up. Share your estimates when gifting or selling refurbished pieces to inspire others. Numbers invite practical conversations about impact, making sustainability feel tangible rather than abstract, and spotlighting ordinary decisions that accumulate into meaningful, measurable environmental stewardship.

Tracing History and Honoring Makers

Look for maker’s marks, saw patterns, and regional joinery quirks that point to origin. Library archives, online forums, and local historians can unlock unexpected details about a cabinet’s first life. Credit original artisans and document your intervention respectfully. A simple timeline card attached inside a drawer invites future caretakers to continue the tradition. When ownership changes, history travels too, protecting context that often disappears whenever furniture is treated as anonymous, disposable stuff.

Sharing the Journey with Community

Post before-and-after photos, but include the messy middle—clamps, doubts, small breakthroughs—so others learn. Invite questions, answer with kindness, and ask for advice when stuck. Local repair cafés, salvage yards, and maker spaces become allies, expanding skills and friendships. Encourage readers to subscribe, comment with challenges, and celebrate every saved chair. Community turns solitary restoration into a shared craft, keeping valuable knowledge alive and multiplying the number of pieces rescued from needless waste.

Komafaxirumefuvuveni
Privacy Overview

This website uses cookies so that we can provide you with the best user experience possible. Cookie information is stored in your browser and performs functions such as recognising you when you return to our website and helping our team to understand which sections of the website you find most interesting and useful.